Cooking videos in here

Cooking videos in here
Click the pic to go on my YouTube Channel

Friday 22 September 2017

Chicken Dum Biryani | Easy Chicken Biryani

After a long long long absence I’m back with a great recipe for a very simple and aromatic chicken dum biryani that is fools proof.

Me and hubby decided to cook together and I’m glad we did as it turned out great.

I am calling this biryani better than the regular dum biryani as I found this recipe to be really mild, super flavourful and the chicken could not have been more tender and juicy, also this biryani will not leave you feeling stuffy once your done eating so it is a total winner.

Note : For best results marinate the chicken overnight for best results.

This is what you need :
1.5 kg chicken
1 kg basmati rice (this biryani is mild so the rice ration is perfect)
1/2 packet Shan Bombay biryani mix
2 tbs red chili powder
1 tbs Kashmiri red chili powder
3 tbs ginger/ garlic paste
1 cup fried onions
1/2 cup fried onions for the topping
1/2 cup cashews soaked overnight and ground to a paste (this is my secret ingredient)

Mix of whole spices
1/2 cup ghee for the chicken
1/2 cup ghee and 2 tbs milk mixed with saffron to add on top of the rice
few drops of kewra water
1/2 cup chopped coriander leaves
1/2 cup chopped mint
small bunch coriander
mint a handfull
 4/6 green chillies slit to  add on top of the rice while cooking
2 cups yogurt
salt to taste

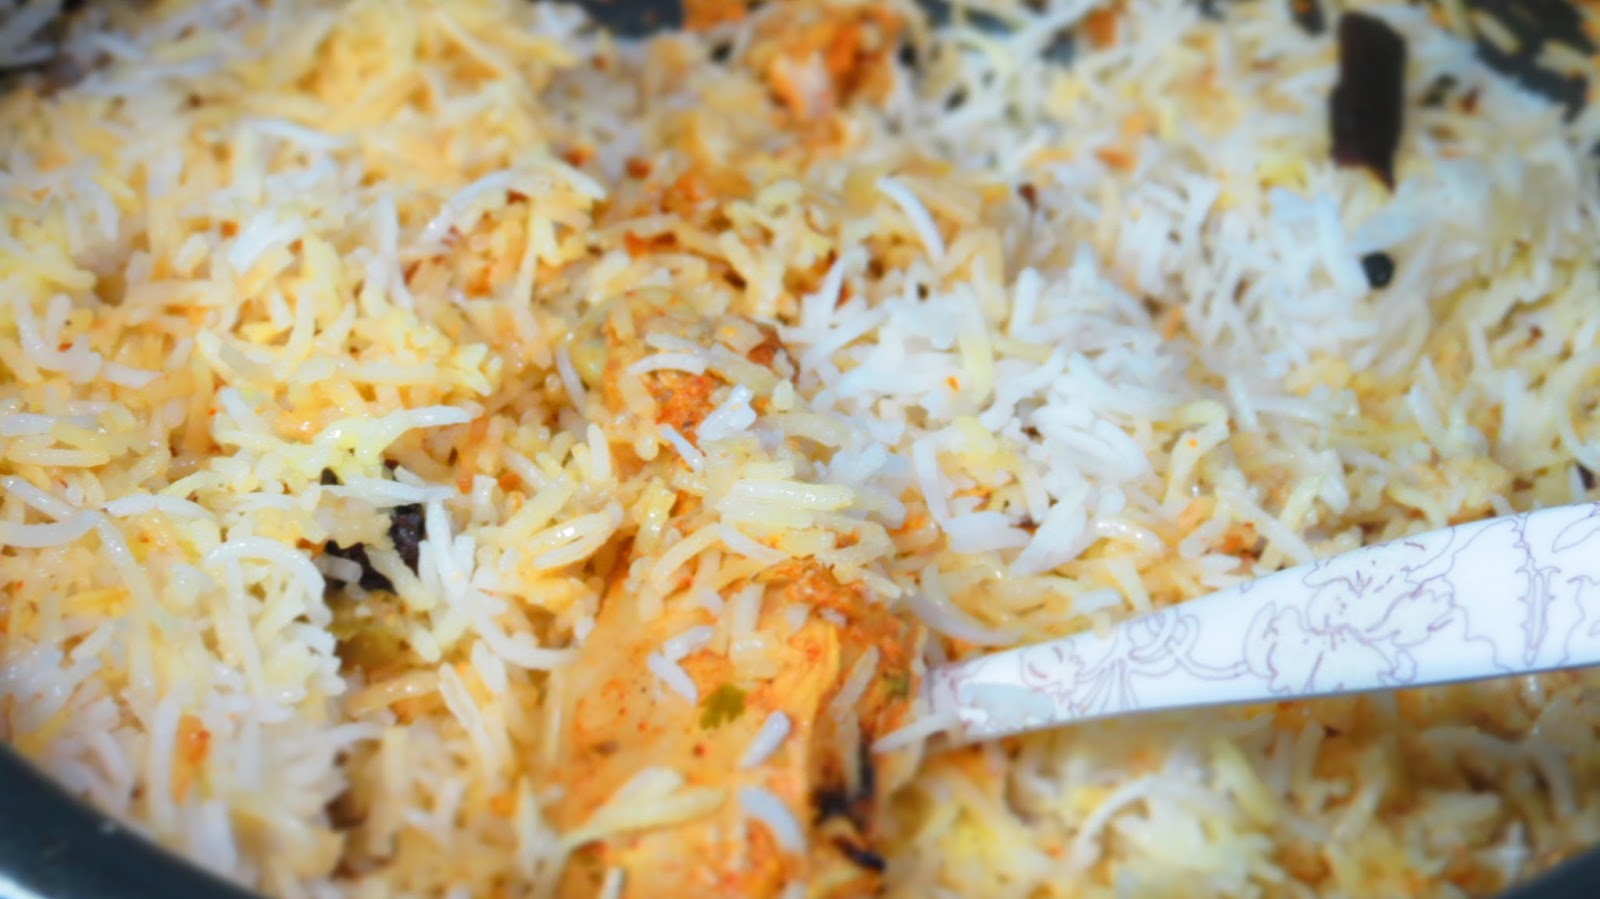
Very sorry for the main dish pic, we were so excited that we ate half of it and then realised we forgot  to click the pic of the final product.


Imp tips :

1. Make sure you marinate the chicken in the same pot you will be making the chicken biryani in.

2. Soak the rice while you start chopping and frying the onions.

3. Do not compromise on the ghee, adding more ghee brings out the best flavour in the chicken and also the rice.

4. It is best to use your hands during marination so please do.
 Make holes with fork into each chicken piece so the marination penetrates into the chicken.

5.Stay focused.

6. Crack silly jokes while making biryani for best results.

Lets start !


Massage the chicken for about 2/3 min very well with the salt, wash well and then drain water completely.
In a big pot add the chicken, the biryani masala and red chili powder making sure the chicken is nicely coated.
Mix it well.


 Then he added ginger/garlic and the yogurt and salt.

The colour is a pale orange, don't be tempted to add more spices as this recipe is a mild version of the dum biryani. Allow the meat to rest (overnight)

 Next day remove the chicken out from the fridge and hour before so it comes to room temprature.
Now chop the mint and coriander.


 Soak the rice and also chop onions and fry the onions till golden.
All this takes about 15 to 20 min.


Now add the fried onions, ghee and mint /coriander mix to the marinated meat.

The same time you decide to cook the rice keep the pot with the marinated meat on the gas and cook covered on low. The chicken needs to be cooked a bit before adding the cooked rice.

Now its time to prepare the rice.


  Here’s the whole garam masala for the rice.


 Dry roast the whole spices with some salt before adding the water. This brings out an outstanding aroma to the biryani.


Fill the pot with water and wait for a boil, stand very patiently, it is all about timing guys !
After the water boils add the soaked and drained rice.


After boiling for 3/4 min check the gains, has to be 70 % cooked.

                                       
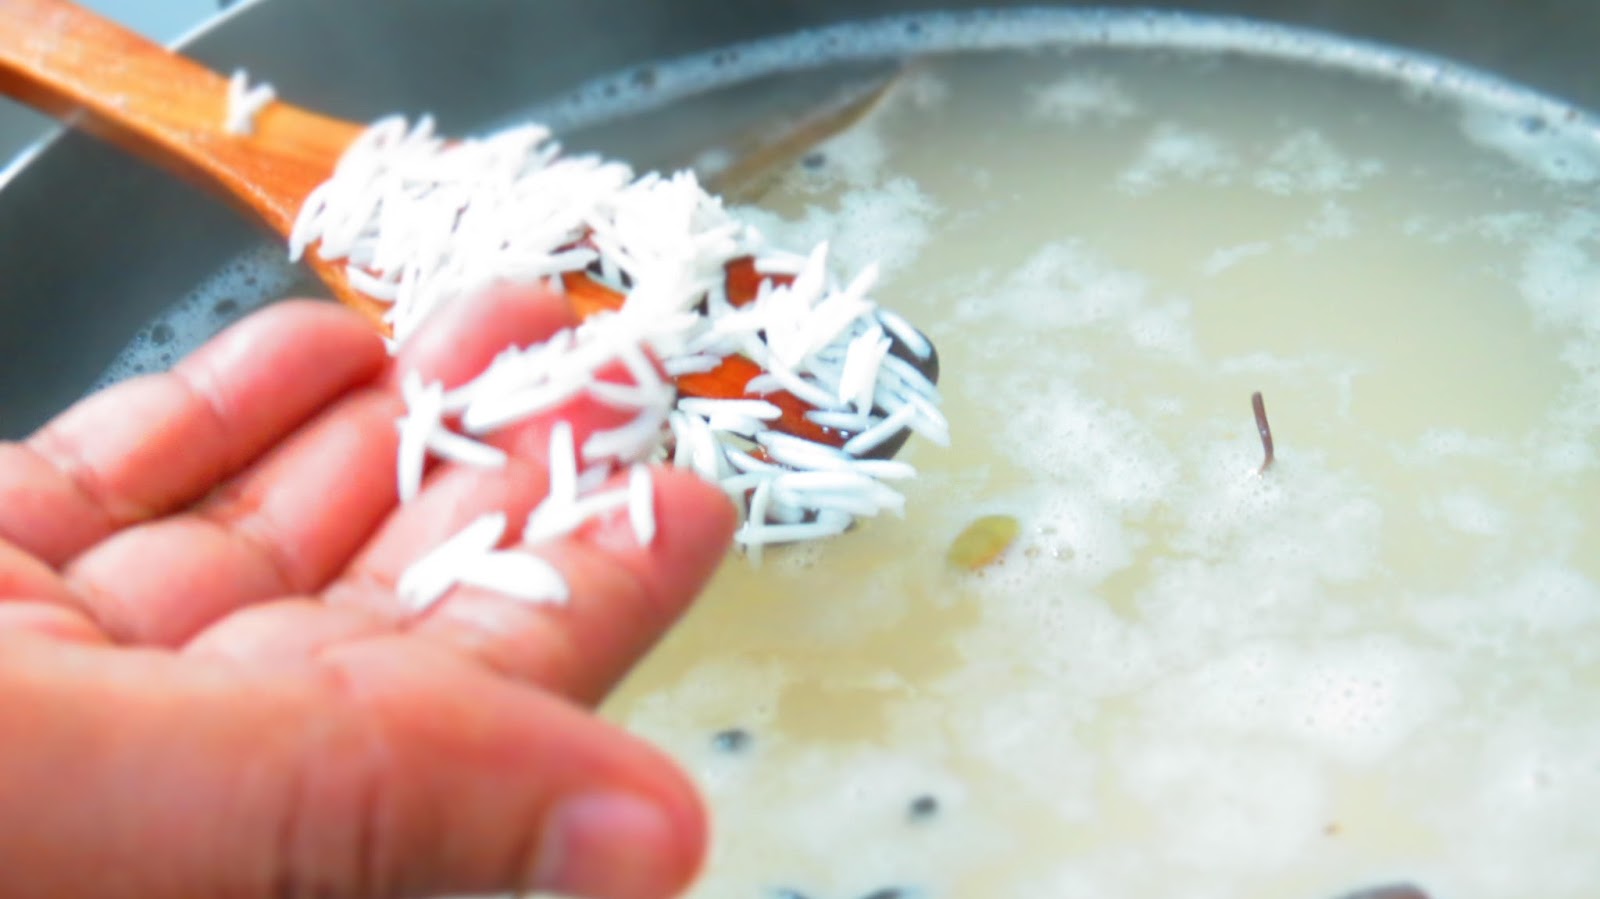
  If the rice over boils the dish is completely ruined be careful and keep a watch.

 After 5 min check again by pressing a few grains . They must be firm but 70% cooked.
 As soon as the rice is boiled you need to work really quick.


Drain the rice and then quickly spread it on top of the chicken thats being cooked.
Then drizzle the saffron, ghee, kewara and milk mix, the whole green chili , left over fried onion and the final step is to add the coriander and mint on top of the rice.
Make sure the whole pot is completely sealed so after you place the pot lid seal it with foil on the sides and then gave it another layer of foil wrap.


Place the pot on an iron pan so the bottom does not burn while cooking.


Hubby suggested we place a wet towel for the final dum preparation.
The foil and cloth method works beautifully in case you do not wish to make a dough to put on all the sides for dum.

 If the timing is messed up we will either have burnt biryani or uncooked chicken, so take care of the timing.

We cooked the biryani on dum for 5 min on medium heat and 20 min on low.
After cooking we gave it stand time of 20 min still covered.
~ Please give it a stand time when you try this recipe as it makes a world of a difference.


 The big reveal :
Hubby was very hungry so he couldn't wait to open it, the aroma was divine.


He also did the first taste test. OH ya it was the bomb.
Cheers !


Monday 4 January 2016

Healthy Methi Matar (no cream) | Methi Malai Matar Without Cream

Hello again readers, i'm back with my favourite peas recipe, Methi Malai Matar. This is a healthier version of methai malai matar with no compromise on taste, and I love this even more as it tastes just like there is a lot of cream added in but actually its made with low fat milk.

 I do promise you that you will not miss the addition of cream, so this is not a cheats day recipe.
Oh and I know you see a tiny bit of butter floating in there, now is that a bad thing?

Here's the recipe guys!


Ingredients

1 cup frozen peas

1 cup washed and chopped methi (fenugreek leaves)

1 grated onion

1/2 tsp cumin seeds

1 cup low fat milk

1/2 cup water (depends on the constancy you want)

1 tbs all purpose flour

2 tabs ginger garlic paste

1 tsp sugar

2 tbs kitchen king masala

1 tsp garam masala

2 tsp cumin powder

1 tsp powdered fennel powder

Tip
If you want to lessen the bitterness of the methi for this dish, after chopping the methi microwave for 2 min in a closed glass container. The bitter taste gets reduced once you steam cook or sauté the methi leaves in this manner.

For a more healthier version instead of all purpose flour you can even use rice powder, basically any thickening powder can be used for a creamier taste.


Method

Start by adding oil to the pan and add in the cumin seeds followed by the onion paste, cook till pink, Now add in the ginger/garlic paste. Sauté well, add the salt and the sugar.

Keep the flame low and continue to cook till the raw onion flavor has gone.

Add in the flour and cook for another min.

Its now time to add in the chopped fenugreek leaves, sauté everything well.
Note : I prefer the bitter taste of methi so I use the leaves without steaming or microwaving it.

Now add in the peas and sauté gently.

Add in the kitchen king masala,fennel and cumin powder and sauté for 2/3 min, this helps the methi loose its raw taste.

Now slowly add in the water, in this way there won't be any flour lumps.


l
Mix very well, you will notice the mixture is beginning to thicken, if it gets too thick add a little more water. Try adding less water as once the peas are almost cooked we will be adding the milk and further cooking it.

Keep the flame low and cook covered for about 5 min. Do keep an eye on it.


This is how it looks after 5/7 min of cooking.


Now add in the milk little at a time, stir well. Continue to cook without the lid for another 5/7 min.
Adjust the salt at this stage, if you feel the sugar is less do add a little bit more.
Methí matar is always on the sweeter side.

The mixture will thicken further so keep the flame on low for this recipe.
Just before shutting off the flame add in the garam masala.

Now your done, serve with a tiny dollop of butter.


This dish tastes best with ajwain parathas or plain phulkas.
Our favourite combo is with onions and coriander salad on the side along with some boondi raita.


Hope you liked this recipe and I do hope you all will give it a try.

Monday 9 March 2015

Vegetable Oats Idly | The Best Recipe for Oats Idly

Hey guys, after a long absence I'm back with a healthy breakfast recipe.
I had my doubts while trying this dish out as I am not used to making savoury things with oats and I was worried about the texture too. 
To my surprise the proportions in this recipe make the idyls turn fluffy and not mushy at all. I do apologize for the pics, I was too excited to taste the dish so clicking pics in good lighting was not at all on my mind.

Do try it out, I'm sure you all will love these amazing oat idyls.


Ingredients:

Oats 2 Cup
Semolina 1 Cup
Baking powder 1/2 Teaspoon
Salt To taste
Yogurt 1/2 Cup
Onion 1 medium size cut fine 
Water 1 Cup approx (add more or less to form a thick batter)
Corn 1/2 Cup
Peas 1/2 cup
Green chilli 2 cut finely
Ginger 1/2 inch grated
Coriander chopped
1 tsp sugar
Pinch pepper
Mustard seeds 1 tsp
Urad Dal 1 tsp
Fried cashew for garnish

Beans and Carrot add more taste and makes the idly look all the more colorful but my husband does not like these veggies n this idyls so I skipped them, however I highly recommend  them for a much more healthy option.


Start by adding some oil to a pan, add the mustard seeds along with the urad dal.
Allow to get golden.
Lightly sauté the onion, green chili and ginger.

Add the veggies and the semolina. Keep the flame on a low and sauté till the semolina is well coated.
Do not skip this step, what it does is the semolina gets a bit toasted and don't stick to each other.
This helps in getting a much more fluffy idly.


Mix well and transfer to a bowl, cool for 5 min.
Add oats, baking powder, sugar, pepper ,salt and chopped coriander.

Now add the yogurt and mix well, slowly add water to form a batter.

Make sure to not add too much water at a time as the batter can get too watery and they won't form idyls.  Now allow the batter to rest for 20 min (resting the batter is very important)

After 20 min spoon out the batter into greased idly moulds and top with one fried cashew.
Steam for 15/20 min or till fully cooked.

Now your done !

Serve these with coconut chutney and some spicy peanut chutney powder topped with ghee.
Enjoy !!!

Sunday 18 January 2015

White Chicken Gravy Made Indian Style | White Chicken Karahi

Wishing you all a wonderful 2015 with lots of smiles and positivity....


If you are bored of the usual tomato based chicken karahi /kadai do give this mildly spiced peppery white chicken karahi a try, I love the creamy taste the gravy has and how rich the dish looks, it seems like the chicken has been slow cooked in cream but all you add is milk.

This recipe has just a handful of ingredients and does not have any typical Indian spices like red chili, turmeric or coriander. Believe it or not there is no onions too.

White chicken karahi tastes heavenly with garlic naan and I would never eat it with anything else.
And what if there is no garlic naan?? White bread is the only other match I could find for this dish.

Here's the simple recipe guys !!

For 5 medium size chicken thighs

1 cup thick yogurt
6 large garlic pods minced fine
small piece ginger and 2/3 green chili crushed (do not make a paste)
1 cup milk
2 tbs cashew paste
1 tbs coarsely crushed pepper
salt to taste
2 tsp kasuri methi (dried fenugreek leaves)


Marinate the chicken overnight in yogurt,crushed ginger and green chili. Do not add salt as the salt will make the yogurt watery during marination.


This dish tastes best if cooked in butter so add in butter and a bit of oil. Add in the crushed garlic and sauté only for a min. Quickly add in the marinated chicken and allow to brown.


Allow to brown lightly on one side then turn the pieces to brown the other side. After about 5/10 min add in the salt and the cashew paste. Turn the pieces around to evenly coat the chicken in the yogurt marinade.


Now add in the milk and half of the crushed pepper. Cook on low heat covered for 15 min.
Cook until the milk gets thick and creamy looking.

Once the chicken is cooked through, add in the remaining crushed pepper and the kasuri methi.
I prefer keeping a little gravy instead of completely letting the milk dry up, it depends on your taste so do as you please. 

So thats it guys, hope you liked the recipe and I do wish you all try it out.

Tuesday 9 December 2014

Classic Egg and Mayo Sandwich | Basic Egg and Mayo Sandwich Roll

Creamy egg and mayo salad served in a hot dog roll is one of my favourite breakfast, lunch, evening snack, post workout snack and sum times even dinner meal.

No, I do not eat it often even though I would love to and because I do not eat it often I choose to go all the way and indulge myself without compromising on the butter and mayo.

Try getting the best quality eggs, freshly baked bread, use regular full fat mayo and not low fat or any other kind and freshly ground pepper for best results.

I prefer using 1 egg for one medium size hot dog roll and you can add more or less filling as per your choice. The only thing I suggest is trying the recipe as it is without adding more ingredients as this is supposed to be very basic, thats the beauty of this dish.

This recipe serves 1.


Start by boiling the egg on high for just 5 min, shut the flame and over the pot with a tight lid.
Allow to sit for 10 min and then rinse with cold water and peel, you will have perfectly boiled eggs with this method. 

Wash the lettuce leaves and keep aside.

Slice the egg with a knife or use an egg slicer.
I never mash eggs for sandwiches as having texture is very important for the dish to taste best.

In a bowl add 1 table spoon mayo, a pinch powdered sugar, salt to taste, dash of hot sauce and 1/2 tea spoon freshly ground pepper. Mix well and add the chopped egg, gently mix.

You may slice the hot dog roll in half and add the filling but I prefer to cut the roll in the center and remove some of the bread from inside making space so the filling can be tucked into the cavity, add some butter into the cut area and grill for 3 min.

Do not over grill the bread as you want it just a light golden and not brown.

Before adding the filling firmly press down the lettuce and top with the egg mix.

By doing this makes the filling stays in place. Before serving cut in half.
Serve your Egg and Mayo Roll with fries or chips, a bowl of soup along with this makes a wonderful lunch too.


Now your done, hope you give this simple and classic sandwich a try.


Saturday 6 December 2014

Dal Nirvana (creamy lentils) | Creamy Lentils Made Indian Style

Dal Nirvana is almost like the famous Dal Makhani but the only difference is you use brown lentils for this dish unlike the dal makhani which has a mix of other dry lentils.

This dish is very comforting and tastes best with steamed rice in my opinion. 
Are you thinking what about naan? Yes of course you may serve this with naan or parathas too. Adding fresh garlic and finishing this dish with a tiny dollop of butter is a must and if you skip these two i cannot promise you best results.

In my house this is served on a cold winter day with rice and grilled kebabs, this combo is a true match and incase you want to make this meal a bit more elaborate make some garlic naan to go and serve with carrot halwa or kheer to complete the meal. 


For creamy Dal Nirvana
1 cup brown lentils
1/2 cup grated onions
1/2 cup tomato puree (make it fresh please)
1 table spoon crushed garlic
small piece ginger grated
1/2 tsp sugar
2 table spoon cream
1 tea spoon cumin seeds
2 whole dry red chili
1 table spoon butter + 1/2 tsp olive oil
chopped coriander for garnish
salt to taste

Spices
1 tsp chili powder
1 tsp turmeric powder
2 tsp cumin powder
1 tsp garam masala

Start by boiling or pressure cooking the lentils till soft, make sure they do not turn mushy.
Boil the lentils along with salt and turmeric powder.

In a pot add in a little olive oil and  add in 1 tbs of the crushed garlic and keep the other half for later, sauté the garlic till fragrent. Add in the ginger,onions cumin powder and the red chili powder.

Cook on low heat adding salt to cook the onions faster, once the onions are cooked add the tomato puree along with the sugar, cook this till the raw flavor of the tomato goes and everything is cooked.

Now add the boiled lentils to the onion and tomato mix and allow to boil, if the water is less add a tiny bit, this dish is thick so adding too much water ruins the texture of the dish.

Cook on low and allow the lentils to gently boil, after 5 min add the cream.
Check for salt and adjust accordingly.
Only cook for 2 min once the cream is added.

Last is the tempering, add olive oil and butter in a pan and add the whole cumin seeds, the garam masala, the remaining crushed garlic and the dry red chili, sauté for a min and add it to the lentils.
Garnish with coriander leaves and now your done.

Do try it out guys, it's really easy and delecious.


Thursday 20 November 2014

Tasty Quinoa Salad | I Love Quinoa

Here is my favorite quinoa salad tossed in a light salad dressing. 
Serve grilled chicken or fish with this salad and you have an excellent lunch or dinner dish ready.

For dinner I served this salad with some creamy corn and chicken soup with toasted buttery bread.  
Really quick and so yummy.

This salad dressing is so versatile that I drizzle it over grilled veggies, pasta and even fish, a very basic and handy dressing to keep in your fridge. 
You can also store the left over dressing in the refrigerator for up-to a week, just make sure you keep it in an airtight glass jar.

We all know quinoa is a super food and its wonderful benefits so I feel anything this healthy must not be overly seasoned and topped with condaments which overpowers the actual flavor of the quinoa. 
I never enjoy the food if i do not taste the star ingredient. 

Quinoa is supposed to taste nutty with a little bit of a crunch so do not overcook it. Ever.


This post will also show you how to make perfect fully quinoa.

Ingredients for Cooking Quinoa 
1 cup quinoa ( store the left overs for later)
2 tsp olive oil
2 garlic pods grated
1 tsp salt

For the Dressing
1 garlic minced fine
1/4 cup olive oil
2 tsp sugar
1 tsp pepper
2 tsp vinegar

Assorted salad leaves

Start by adding olive oil to a pan, add the washed and drained quinoa sauté for 2/3 min till you get a nutty aroma, add in the garlic and sauté for another 2 min. 
Adding the garlic after the quinoa is sautéed helps the garlic not get over cooked and burn.

For every one cup quinoa you need two cups water or stock, for this salad i used water.
Once you smell the garlic add 2 cups of water, salt and wait for a boil, once you see the water boiling turn down the flame to low and cook covered for 10/15 min.


Open the lid after a 5 min stand time. This step helps you get perfectly cooked quinoa every time.

                                     
Allow the quinoa to cool while you make the dressing.

For the dressing mix all the ingredients listed with a small whisk, make sure you taste the dressing and adjust the taste before you add it to the salad.


Now all you do is add the quinoa to the salad leaves and toss, pour the dressing and toss well making sure the dressing is well coated.
                           
Serve right away with toasted buttered bread, grilled chicken or fish and soup.


You may add olives, tomatoes, onions and so many of your favorite ingrediants to this salad but I wanted to keep it simple as I was serving it with a creamy soup.

Do try this recipe and I hope you like it.

Monday 13 October 2014

Dark Chocolate Peanut Butter Cups | Quick No Bake Dessert


Here is an easy no bake dessert recipe for days when you need that chocolate fix, what makes this more naughty is the creamy butery peanut butter center. 
It's a true match in my eyes as the bitter chocolate mixed with sugar and butter gives you a unique decedant taste which milk chocolate does not bring out.

Try it out if you also love and can't get enough of the Reese's peanut butter cups, I promise you this one is all the more yummy,  you already know anything homemade is best right?


Here's what you need for 6 mini silicon moulds
(use more or less sugar to suit your taste)

1 bar of dark chocolate + 1 tsp salted butter
1/2 cup of creamy peanut butter + 2 tsp salted butter
2 tbs sugar for chocolate mix
1 tbs sugar for the peanut butter mix


 Start by melting the chocolate, butter and sugar on a double broiler or microwave.

If using the microwave method please do it in intervals, if you use it on full power for more than 40 seconds at a stretch there are chances the chocolate will burn and that will not be a pretty sight.

Be patient and use it for 40 seconds, stir then again run for 40 seconds. Every microwave is different so heat it for more or less time keeping a close eye on it.


Next mix in the sugar, butter and peanut butter, place in a pan filled with hot water to melt the mix and make it more smooth. Mix really well, it must look creamy and smooth.

Now all you do is fill the cup with the chocolate mix, keep in the freezer for 5 min.

After 5 min top with the peanut butter mix, chill for another 5 min.

Last top with the chocolate mix, chill for few hrs and then remove from the moulds.

I never use silicon moulds for baking, but they are extremely handy for recipes like these.


Hope you enjoy these treats, I loved them so much that i shared just one with hubby and ate the rest.
Related Posts Plugin for WordPress, Blogger...